It's been a busy week; the kind of busy that doesn't leave a lot of time for stamping and even less for blogging. Still, I wasn't completely unproductive. I dug out some long-forgotten stuff out of my craft stash and cranked my big shot to make some cards for this year's Christmas stash. There was very little stamping on these as most of the work was done with die cutting and dry embossing, but I'm happy with how they turned out. I know the image shows only 1 card, but there are 9 more that are identical to this one with the super cute patterned envelopes and seals to go with them. I think they will make a good impact when they arrive in our families' mailboxes this Christmas season.
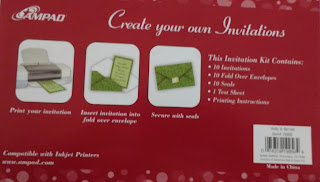
It all started with me digging out an invitation kit I bought on clearance years and years ago, back when I still had some weird ambitions to throw the kinds of Christmas parties that required mailed invitations. Needless to say, the parties never materialized so it was high time to find an alternate use for these supplies. Looking at the 8.5x 5.5" patterned invitation cards, I instantly thought of the SU Holiday Stocking die which (for reasons I still don't understand) is slightly too large to use on a standard A2 card but is actually the perfect size to use on this background. I trimmed 1/8" off all sides of the invitation and attached it in the center of a 8.5x5.5" white card base. I then got a good workout on the big shot cranking out 10 stockings in real red and 10 of the top, heel and toe stocking trims in whisper white, and them embossing all of them with the Snowburst, Petals-a-Plenty and Northern Flurries embossing folders. I take no credit for my choice of embossing folders - I totally CASEd
Nendy Kerr's idea, which you can find in this post on her blog. I attached all the pieces of the stocking using 3m double sided tape, adding hanger loop at the top made from a strip of red card stock, and attached the completed stocking to the card.
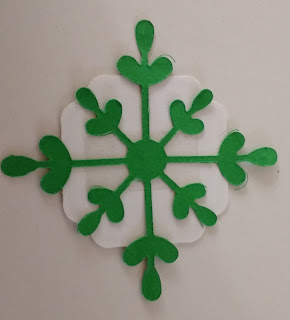
I stamped the sentiment from the Tags 4 You set in real red on whisper white card stock and punched it out with the label bracket punch. To add a little interest and color, I attached a green galore card stock snowflake that I die cut with a thinlit from the Snowflake Card assortment to the back of the sentiment. For me, the easiest way to center the snowflake on the sentiment was to lay the sentiment upside down, add 3m double sided tape and then center the snowflake on top of the adhesive so that little bits of the shorter snowflake "arms" extended beyond the four corners between the "brackets" on the punched shape, as shown in the photo. I then added two more strips of double sided tape on top of the snowflake so that there was plenty adhesive to attach the snowflake/sentiment combo to the top of the stocking.
I like these cards because they are impactful without being too difficult or fussy to make, they're pretty flat for mailing, and also because they helped me clear out a little space in my craft stash. When you're a supply collector (or, as my husband would put it, probably more accurately, a hoarder) like me, you have to celebrate even these little victories :).
Recipe:
Paper: Whisper White, Real Red, Green Galore, Invitations from Holly and Berries invitation kit by Ampad
Ink: Real Red
Stamps: Tags 4 You
Accessories: Holiday Stockings Die, Snowburst, Petals-a-Plenty and Northern Flurries embossing folders, Label Bracket Punch, Snowflake Card Thinlits
 Another Halloween banner and this one was almost embarrassingly quick and easy to make. Once again I used flags and twine from a banner kit I bought on post-Halloween clearance at Target last year. The triangular flags are super cute with their little Halloween pre-printed story and spider web and the top edge decorated with black microbeads. The kit also included a few plastic spiders so I attached one on top of the web on the center banner panel.